Cheap, quick, silent, effective pellet trap
There are plans all over the Internet for inexpensive, quick-to-build, silent, effective, portable (did I mention cheap?) pellet traps. This page describes the pellet trap I put together this morning for a grand total of $48.40 (Jan 2013 prices), with a single trip to Home Depot for materials plus one scrap of wood, and a total of an hour to build and test... stopping often to take photos.
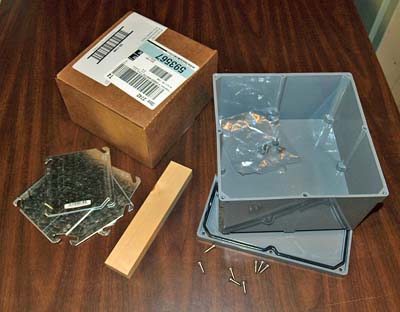 |
The materials:
|
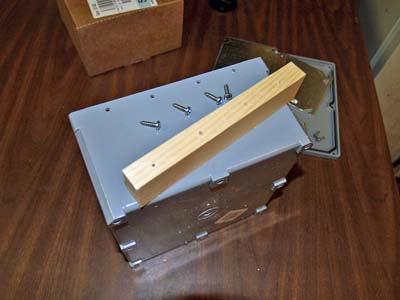 |
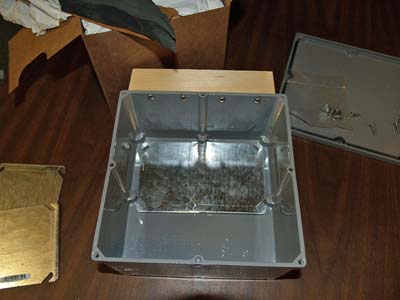
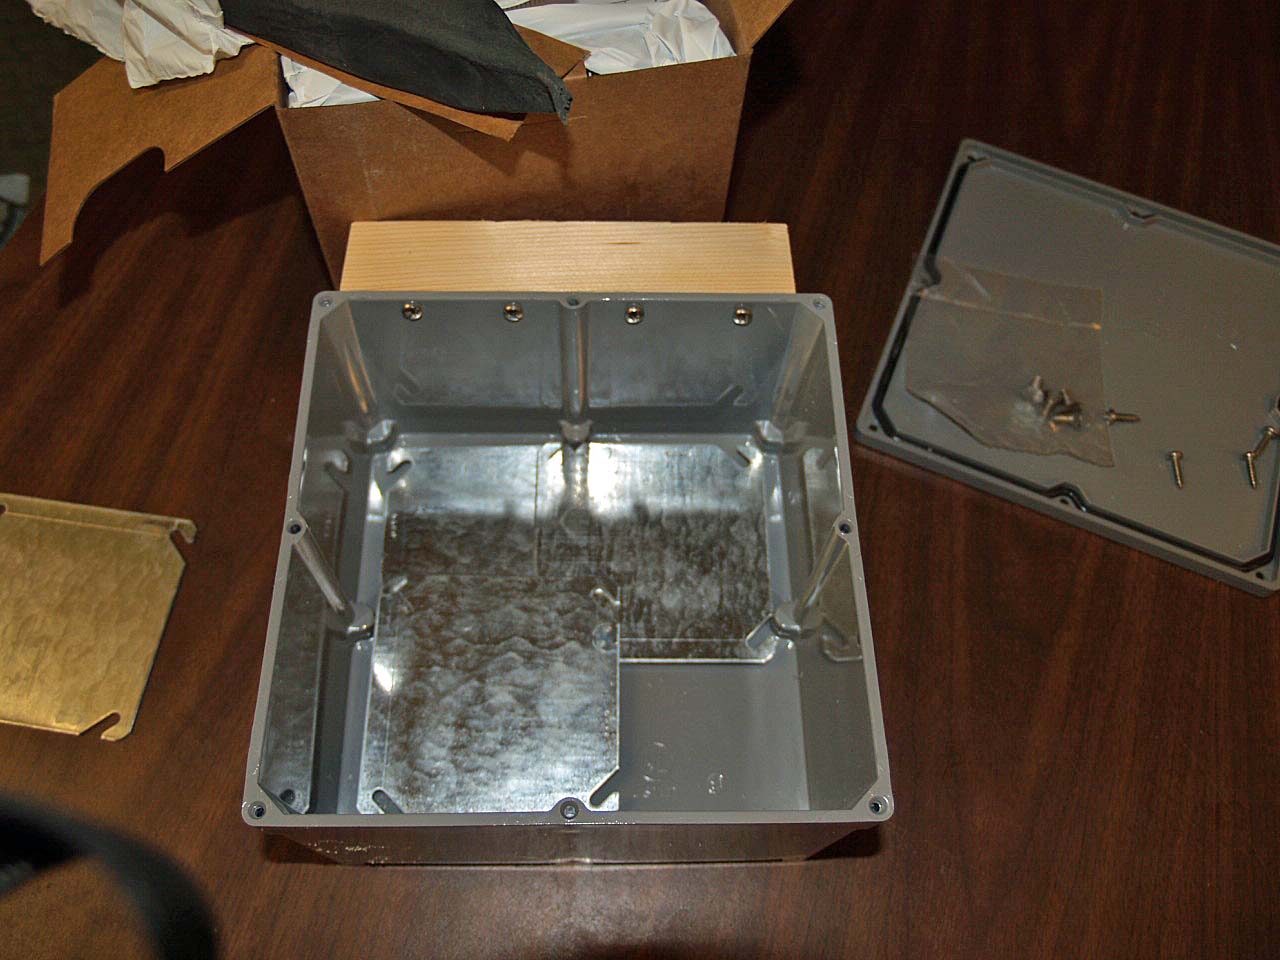
Step 1: We will use the sheet metal screws that came with the electrical box to attach the target holder. Start by drilling 3 or 4 holes, big enough in diameter for the screws to clear, near one of the edges of the box, about half the thickness of the wood scrap from the edge. Use these holes to locate pilot holes in the wood, making sure that the wood will be flush with the face of the box. Attach the target holder to the box using the sheet metal screws. |
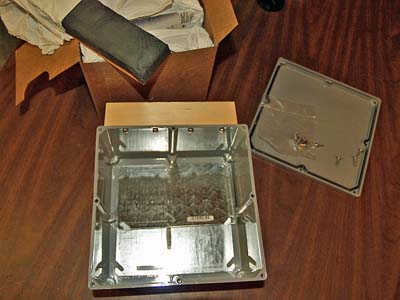 |
Step 2: We will line the back of the box with the 4 electrical box covers. Note that the 4 covers are too big to fit side-by-side and need to overlap on the bottom of the box. One at a time, take a pinch of the duct seal, stick it to the back of a steel cover and stick that cover to the back of the plastic box. |
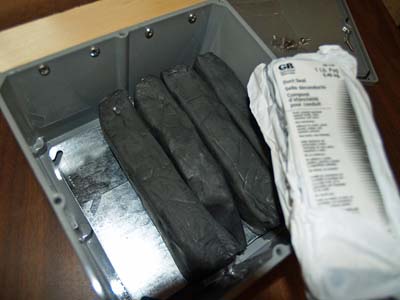 |
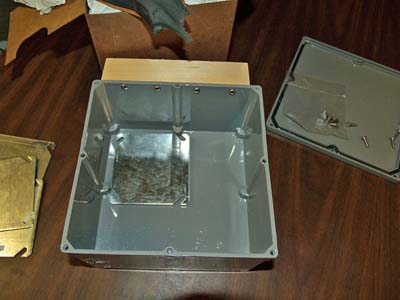
Step 3: Unwrap 6 of the duct seal bars and layer them over the steel covers. In the photo you can see that I stood them up on their long, narrow sides, but I could have just as easily layered them three across on their faces, with another three on top in the other direction. If you want to put all 9 lb of duct seal in the box now, go right ahead. I´ll add more if I find it necessary, and will be adding to the amount in the box as the duct seal slowly dries and crumbles over the next few years. |
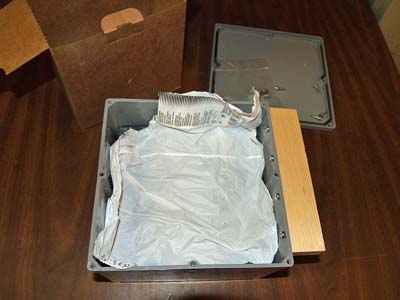 |
Step 4: Take one of the duct seal wrappers, open it up and spread it over the 6 bars. Smash and compress the duct seal through the wrapper with your fist, pressing it down into the corners and edges of the box. |
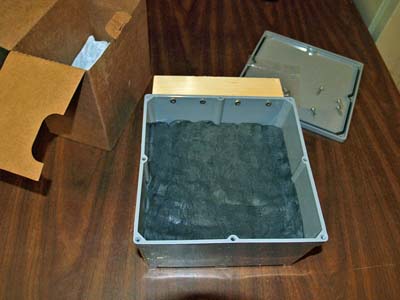 |
Once the duct seal is compressed and relatively flat across the back of the box, peel off the wrapper.... then step back, admire your work and congratulate yourself.... you´ve just made a pellet trap! |
So... how does it work?
As you can see in the photo below, the 2" wide target holder combined with the 8"x8" electrical box is the perfect size for a tagboard 7"x9" TQ-5 target hung upside-down. It also works great for home-printed paper targets. For clean holes, back up paper targets with a piece of cardboard. I will eventually screw a simple binder clip to the target holder to eliminate the push pin seen in the photos.
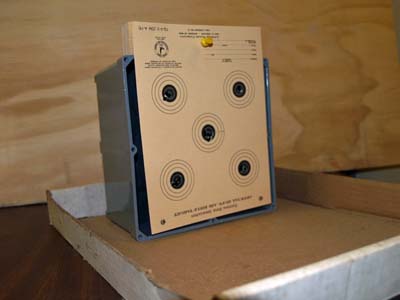
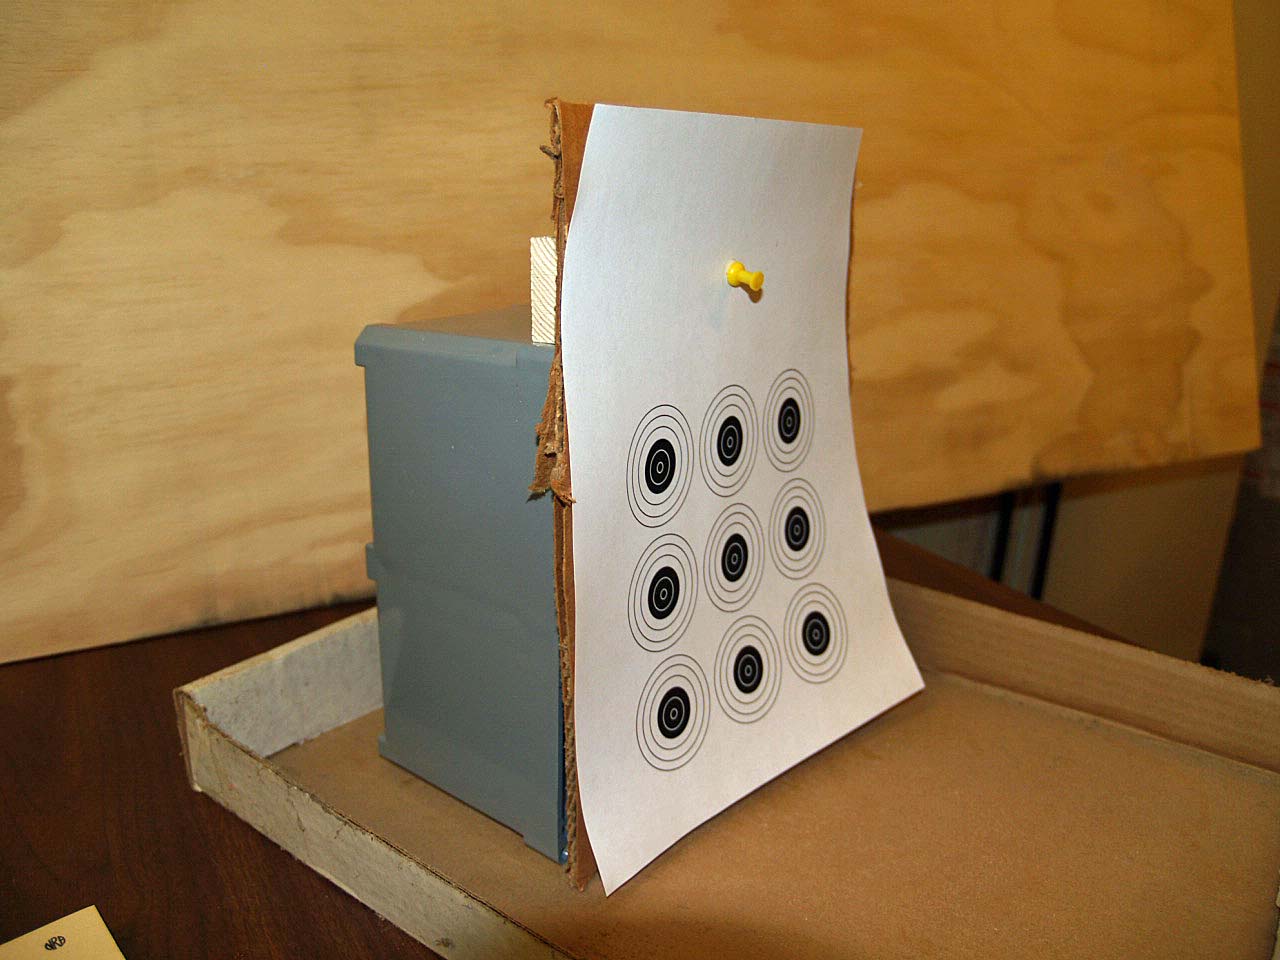
The two photos below show the first 5 shots (0.177 cal, 7.3 gr pellets at 880 fps, distance 15 ft) into the pellet trap. The pellets penetrated about 3/4" into the duct seal. with no impact noise detected. I am very happy with the cost and performance of this trap.
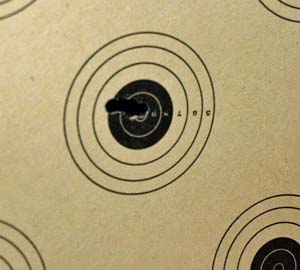
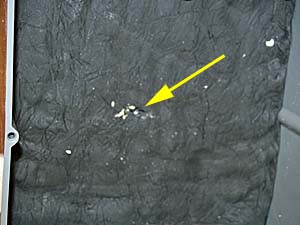
I will not be digging pellets out of this trap. Online opinion seems to be that duct-seal pellet traps work even better as they fill with lead pellets, as the pellets themselves add to the density of the backing material. There are online anecdotes of duct-seal traps absorbing 50,000 or more pellets, accounting for several years worth of active shooting. I figure that I'll dig out the duct seal/pellet mixture and replace it as the duct seal dries and crumbles over the next several years.